


Most homeowners think about their electrical system only when something stops working. A breaker trips, a light flickers, an outlet goes dead. But some of the most serious electrical problems never announce themselves. They sit quietly behind walls, inside panels, and in attic junction boxes until the day they cause real damage.
That’s the purpose of a home electrical safety inspection. It’s a thorough, professional look at your home’s wiring and equipment, designed to catch hidden problems before they turn into emergencies. If you’ve never had one done, or you’re not sure what to expect, this guide walks you through the process from start to finish.
Why Homeowners Schedule an Electrical Safety Inspection
There are a few common reasons our Tarpon Springs and Tampa Bay customers call for an inspection:
- Buying or selling a home. Buyers want to know what they’re getting, and sellers want to avoid surprises that derail a closing.
- Insurance requirements. Many Florida insurers ask for documentation on the condition of the electrical system, especially for older homes.
- An older home. If your house is 25 years old or more and has never had a full evaluation, it’s worth knowing what’s inside the walls.
- Warning signs. Flickering lights, frequently tripped breakers, warm outlets, or burning smells all justify a professional look.
- Peace of mind. After a major storm, a renovation, or simply a few years of ownership, some homeowners just want to know everything is safe.
Whatever your reason, the process is generally the same, and it’s far less disruptive than most people expect.

Step 1: A Conversation About Your Home
A good inspection starts with listening. Before the electrician opens a single panel, they’ll ask about your home and your concerns. How old is the house? Have you noticed any flickering, buzzing, or tripped breakers? Has any electrical work been done, and was it permitted? Are you planning any renovations or adding large equipment like an EV charger, pool, or generator?
This conversation matters because it helps the electrician focus on the areas most likely to have issues, and it gives context to anything they find later.
Step 2: The Electrical Panel
The electrical panel is the first and most important stop. It’s the control center for your home’s power, and it tells an experienced electrician a great deal about the rest of the system.
During this part of the inspection, a licensed electrician will check:
- Panel age, brand, and capacity. Is the panel rated for the amount of power your home actually uses? Some older panel brands have well-documented reliability concerns.
- Signs of overheating. Discoloration, scorching, or melted components can indicate loose connections or overloaded circuits.
- Breaker condition and labeling. Breakers should be the correct size for the wire they protect, and each circuit should be clearly identified.
- Double-tapped breakers. Two wires connected to a single breaker designed for one is a common issue in older or modified panels.
- Proper grounding and bonding. These connections are what allow your electrical system to safely direct stray current away from people and property.
- Overall workmanship. Previous additions or repairs are examined to see whether they were done correctly and to code.
If your panel is outdated, undersized, or showing signs of wear, this is usually where the electrician will first recommend a repair, a replacement, or an electrical panel upgrade.
Step 3: Outlets, Switches, and Fixtures
Next, the electrician moves through the home room by room, checking the parts of the system you interact with every day. Using professional testing equipment, they’ll verify that outlets are properly wired and grounded, that switches operate safely, and that fixtures are secure and appropriately rated.
Special attention goes to areas where moisture is a concern. In Florida, that means kitchens, bathrooms, garages, laundry rooms, and exterior outlets. These locations are expected to have ground fault circuit interrupter (GFCI) protection, which shuts off power quickly if it detects a dangerous leak of current. Many homes built before these requirements became standard don’t have it everywhere it should be.
The electrician will also look for:
- Outlets that are loose, cracked, discolored, or warm
- Reversed polarity or missing ground connections
- Damaged or outdated switches
- Fixtures or ceiling fans that are improperly supported
- Overloaded outlets or heavy reliance on extension cords and power strips
Step 4: Smoke and Carbon Monoxide Detectors
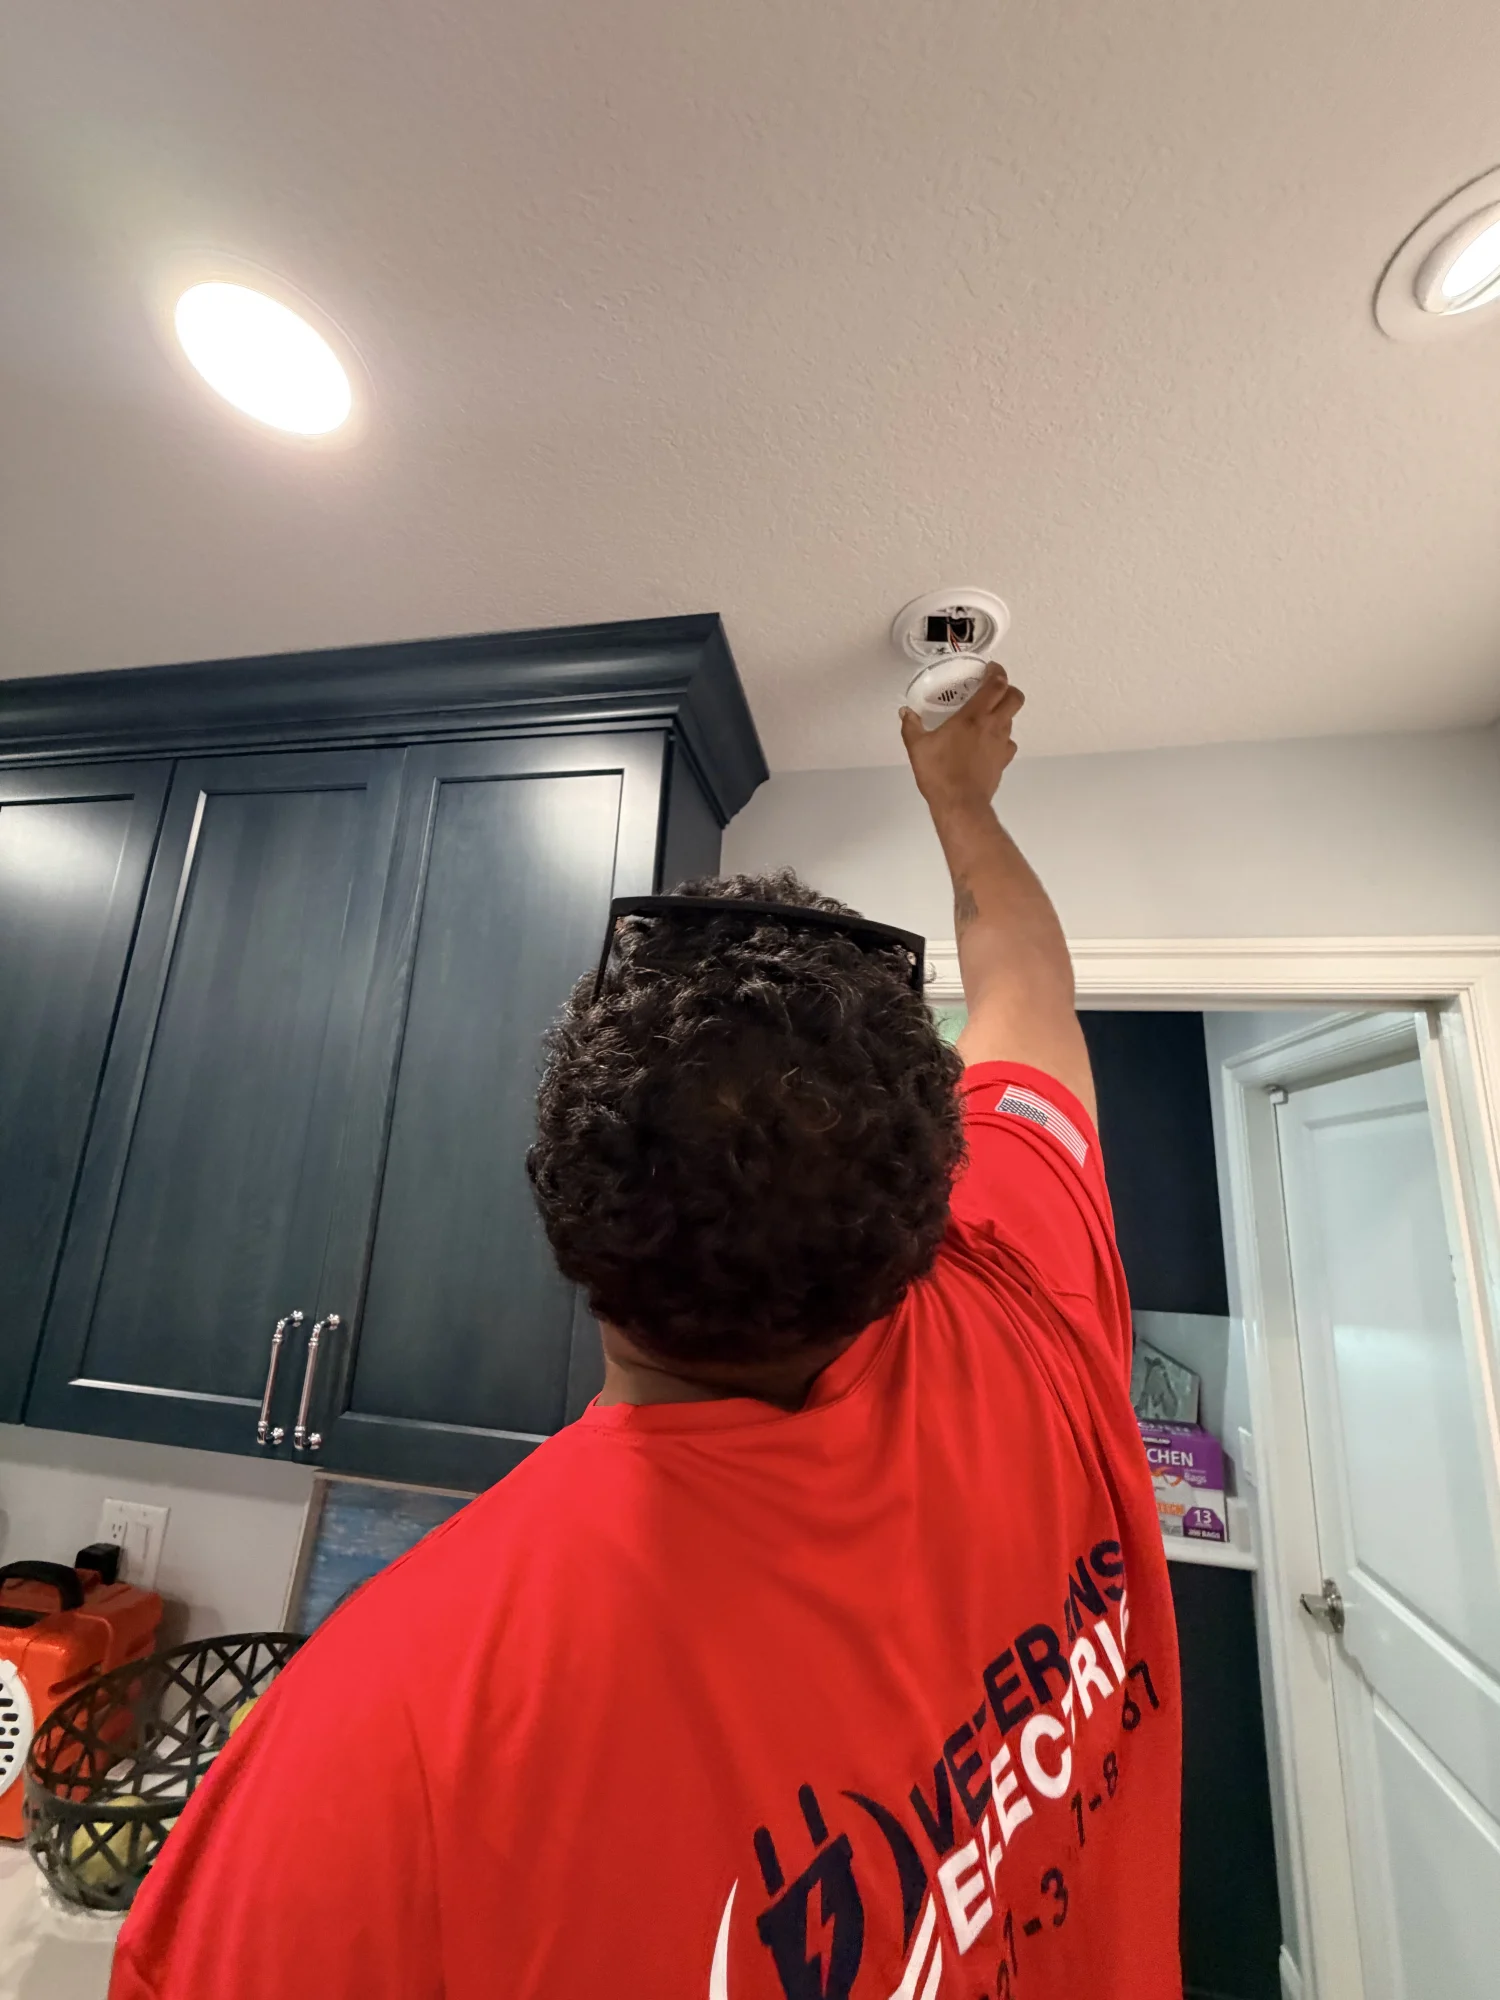
Detectors are part of your home’s electrical safety picture, and a thorough inspection includes them. The electrician will confirm that smoke and carbon monoxide detectors are present in the right locations, that they’re functioning, and that they haven’t passed their replacement date. Detectors don’t last forever, and an expired unit may not respond the way you expect it to in an emergency.
If your home has hardwired, interconnected detectors, the electrician will also confirm they’re communicating with one another, so that an alarm in one part of the house sounds throughout.
Step 5: Wiring Type and Condition
Where it’s accessible, the electrician will evaluate the wiring itself. This is especially important in older homes, where the type of wiring can be just as significant as its condition.
Some of the things they look for include:
- Aluminum wiring, which was common in some homes built in the 1960s and 1970s and requires special attention at connection points
- Knob-and-tube or other outdated wiring methods that weren’t designed for modern electrical loads
- Damaged insulation, frayed wires, or signs of rodent activity in attics and crawl spaces
- Unprotected or improperly spliced wiring, including connections made outside of a proper junction box
- Amateur or unpermitted work that doesn’t meet current code
Wiring problems are among the hardest issues for homeowners to spot on their own, which is a big part of why professional inspections are so valuable. If the inspection reveals serious wiring concerns, a home rewiring project may be the safest long-term solution.
Step 6: Surge Protection and Grounding
Florida’s frequent thunderstorms put your home’s electrical system and every device connected to it at risk. As part of the inspection, the electrician will check whether your home has any surge protection in place and whether it’s working properly. They’ll also confirm that your grounding system is intact, since effective surge protection depends on it.
If your home doesn’t have whole-home protection, the electrician may recommend surge protection to help safeguard your appliances, electronics, and HVAC equipment.
Step 7: Exterior, Garage, and Specialty Areas
A complete inspection doesn’t stop at the front door. The electrician will examine exterior outlets and lighting, the service entrance and meter connection, and the garage. If your home has a pool, hot tub, dock, or detached structure, those areas may need special attention as well, since they’re subject to stricter safety requirements.
This is also a good time to discuss any upgrades you’re considering, such as EV charging, a standby generator, or new lighting, so the electrician can tell you whether your current system can support them.
Step 8: The Findings and Recommendations
Once the inspection is complete, you should receive a clear explanation of what the electrician found. A trustworthy electrician will walk you through the results in plain language, show you any areas of concern, and explain why they matter. You should never feel pressured or confused.
Findings are typically sorted by priority:
- Immediate safety concerns that should be corrected as soon as possible
- Code or performance issues that should be addressed in the near future
- Recommended upgrades that aren’t urgent but would improve safety, capacity, or convenience
- Items in good condition that need no action
You’ll also receive an honest, upfront estimate for any recommended work, and the decision about how to proceed is always yours.
How Long Does an Inspection Take?
The timeline depends on the size and age of your home, as well as how accessible the electrical components are. Most single-family homes can be evaluated in a few hours. Larger properties, homes with multiple panels, or those with known issues may take longer. You don’t need to prepare much beyond making sure the electrician can reach your panel, attic access, and any areas of concern.
What an Inspection Doesn’t Replace
It’s worth noting that a safety inspection is a snapshot of your system on the day it’s performed. If you notice new warning signs later, such as burning smells, buzzing sounds, or warm outlets, don’t wait until your next scheduled inspection to call. And for emergencies like sparking, smoke, or a burning odor, leave the area and call 911 first.
For more general information on home electrical safety, the nonprofit Electrical Safety Foundation International offers helpful public resources for homeowners.
Schedule Your Electrical Safety Inspection in Tarpon Springs
At Veterans Electric, we bring the discipline and attention to detail of our military service to every inspection. Our licensed electricians take the time to explain what they find, give you honest recommendations, and never add surprise fees to the conversation. Whether you’re buying, selling, or simply want to know your home is safe, our electrical safety and inspection services are designed to give you clear answers and real peace of mind.
Ready to get started? Call Veterans Electric at (727) 387-8387 or contact us online to schedule your inspection. We proudly serve Tarpon Springs and the greater Tampa Bay area, and we’re available 24/7 when you need us.


